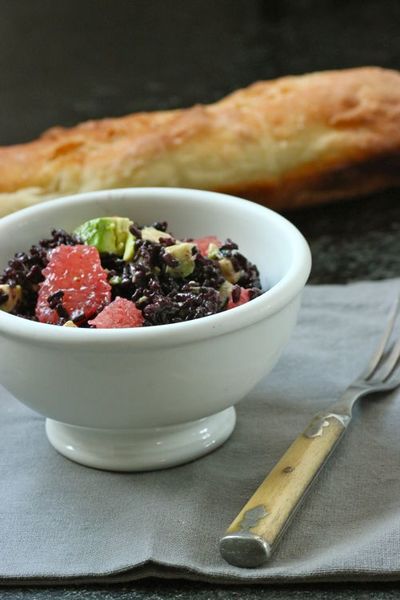
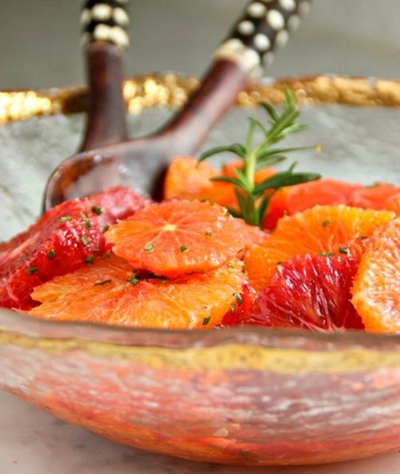
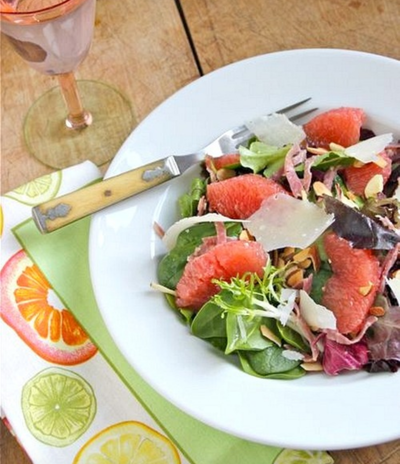
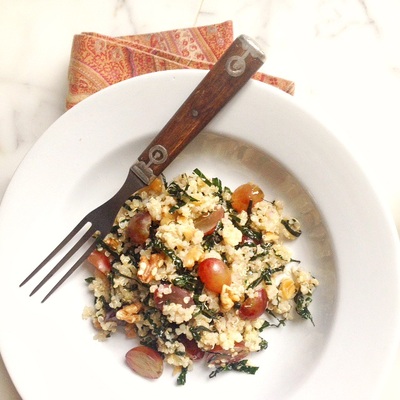
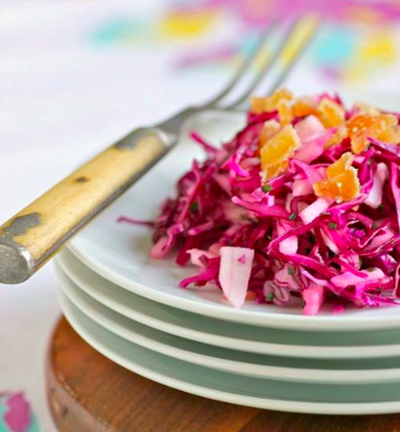
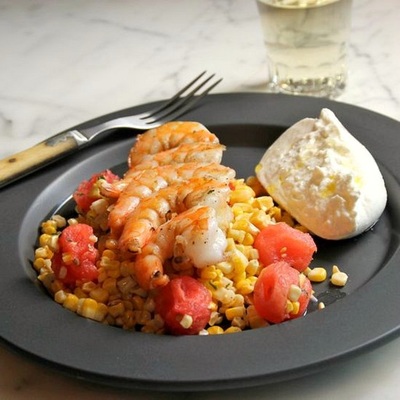
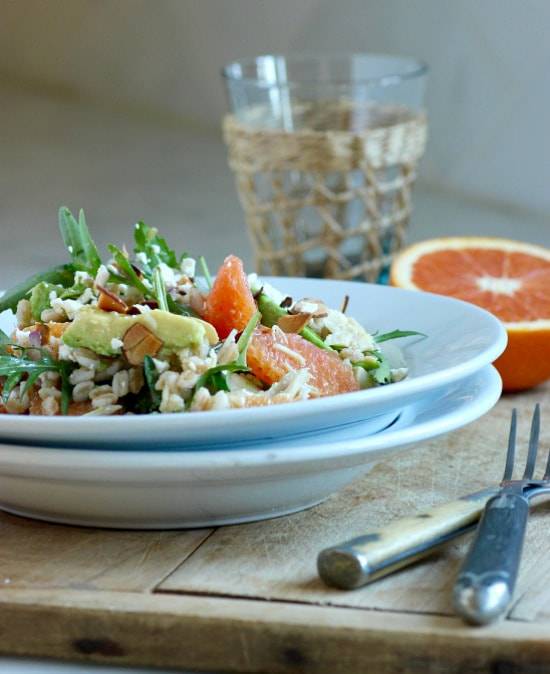
 I've become a farro fanatic. I have been making salads lately with farro and whatever fruits, vegetables, and nuts are available in my kitchen. Last night's dinner consisted of farro with Cara Cara oranges, avocados, arugula... etc. I will show -- with approximate amounts used -- my recipe below. It's hard to go wrong creating your own signature salad. Just fill it full of combinations you love. From January until spring, my diet contains large amounts of citrus. I just crave it this time of year. If I'm eating a green salad, it most likely contains oranges (blood orange + CaraCara being my favorites), very thinly sliced red onion, and almonds... and a vinegrette using the juice of the oranges and a peppery olive oil; basically how I made my farro salad. Tonight, possibly a farro risotto!  Feel free to change the amounts of the ingredients to your liking... • 1 cup farro • 3 cups water • Salt & pepper • 2 cups shredded rotisserie chicken • 3 large oranges, supremed, and any juices (from the cutting and squeezing of supremed oranges) reserved • 2 avocados, sliced • 1/2 cup (more or less) thinly-sliced red onion • 2 handfuls arugula • Good quality extra-virgin olive oil • 1/2 cup toasted, slivered almonds • 3/4 cup Feta cheese, crumbled 1. Toast the farro in a dry saucepan over medium-high heat, stirring frequently, until it smells nutty, about 3 minutes. Add the water and 1 teaspoon salt and bring to a boil. Reduce heat to medium-low, cover partially, and cook until the farro is tender but still chewy, about 40 minutes. Drain farro in a colander. 2. In a large serving bowl, combine the farro, chicken, orange segments (see above to learn how to supreme an orange), avocados, red onion, and arugula. 3. Using the reserved orange juices, make a vinegrette with equal amounts of juice and olive oil whisked together. Add salt and pepper to taste. Add vinegrette to the farro mixture and toss gently. 4. Top the salad with the crumbled Feta and toasted almonds. TAKE a LOOK:
0 Comments
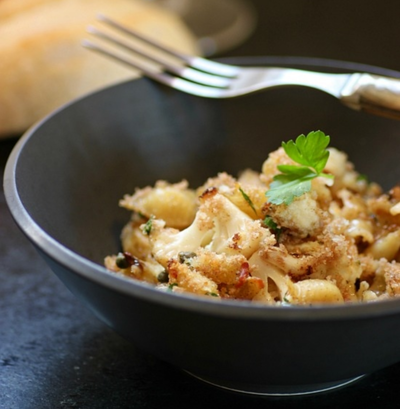
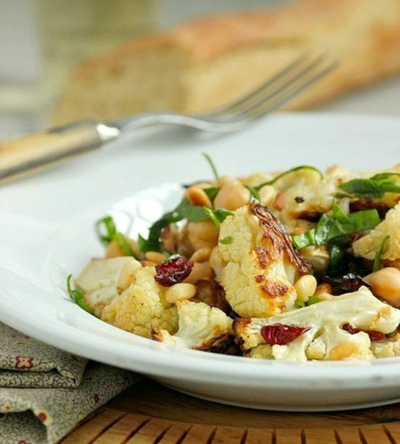
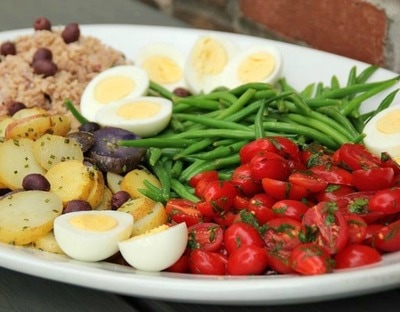
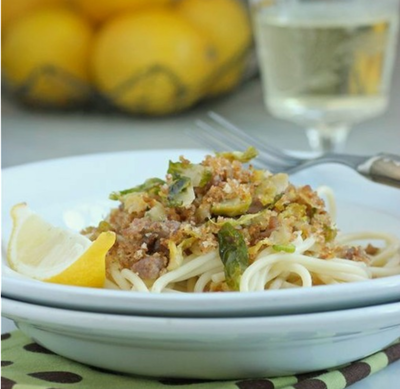
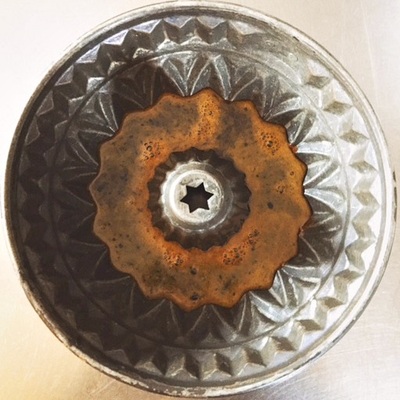
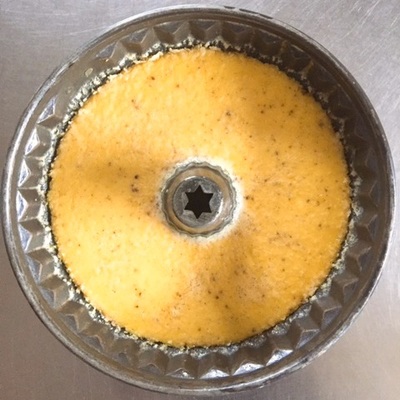
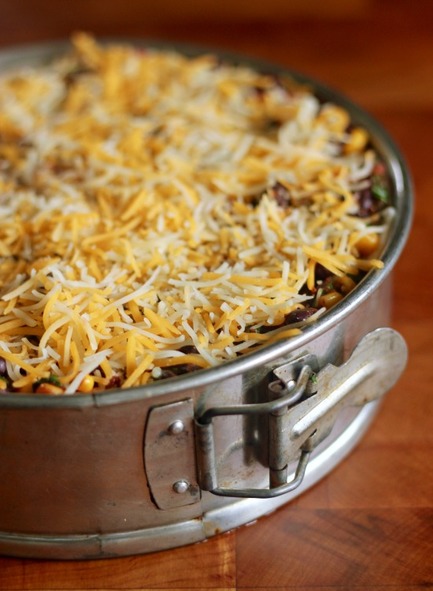
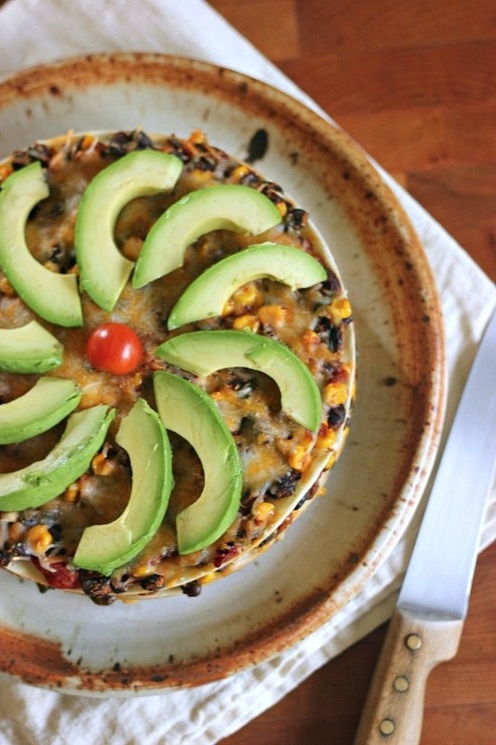
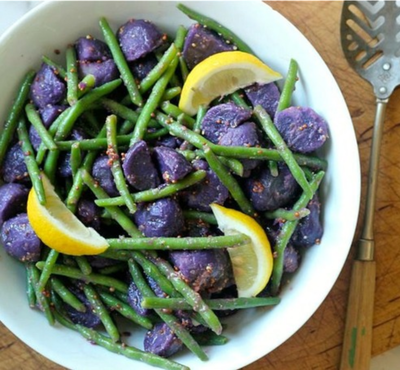
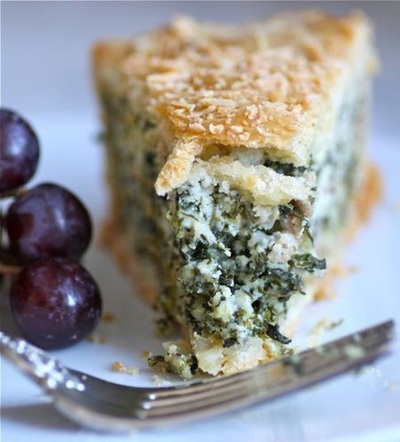
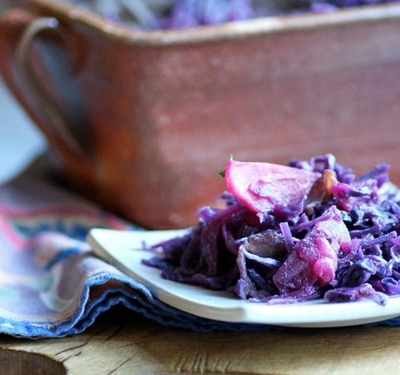
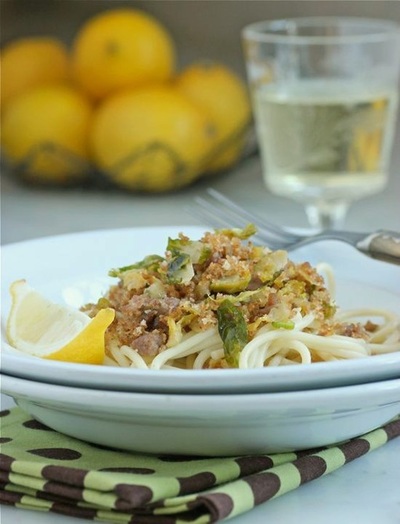
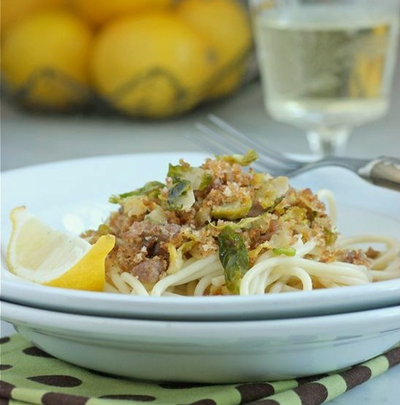
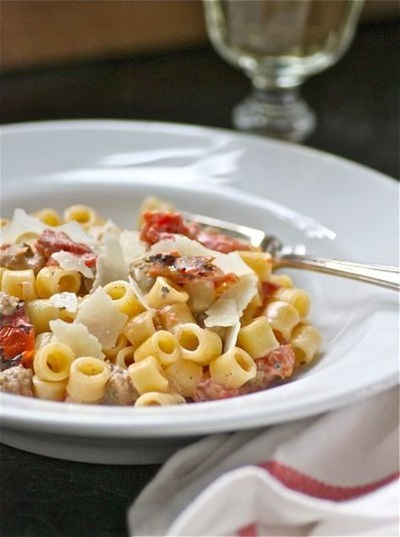
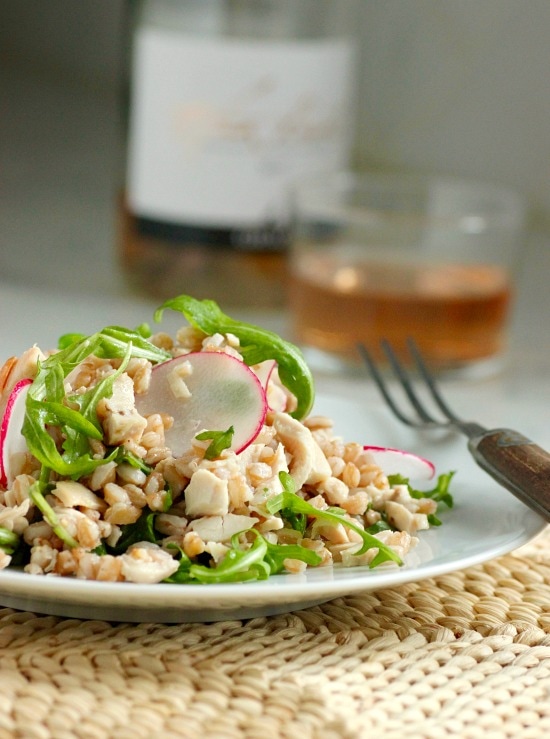 I've been on a farro kick lately. In addition to this farro salad with chicken, green beans and radishes, that I've made twice in the past week, I've also made a farro, orange and avocado salad two times. Just feels like the perfect thing to eat right now...  • recipe by Russ Parsons | featured in the L.A. Times • 1 cup farro • 3 cups water • Salt • 1/2 pound green beans, trimmed • 5 tablespoons olive oil • 3 tablespoons red wine vinegar • 3/4 pound rotisserie chicken, cut into bite-sized piece • 3 cups lightly packed arugula, torn into bit-sized pieces • 1 cup thinly sliced radishes • 1/3 cup toasted slivered almonds 1. Toast the farro in a dry saucepan over medium-high heat, stirring frequently, until it smells nutty, about 3 minutes. Add the water and 1 teaspoon salt and bring to a boil. Reduce heat to medium-low, cover partially, and cook until the farro is tender but still chewy, about 40 minutes. Remove from the heat and let stand covered 10 minutes to allow the grain to remove any excess moisture. 2. While the farro is cooking, add the green beans to a medium saucepan of rapidly boiling, liberally salted water and cook just until the color brightens, about 3 minutes. They should still be crisp. Drain and plunge immediately into ice water to stop the cooking. Pat dry, cut into bite-sized pieces and set aside. 3. When the farro is done and while it is still warm, Add the olive oil and vinegar and stir to mix well. Add the chicken and black pepper to taste. 4. When ready to serve, fold in the green beans, arugula, radishes and almonds. Taste, and adjust seasonings if necessary. TAKE a LOOK: 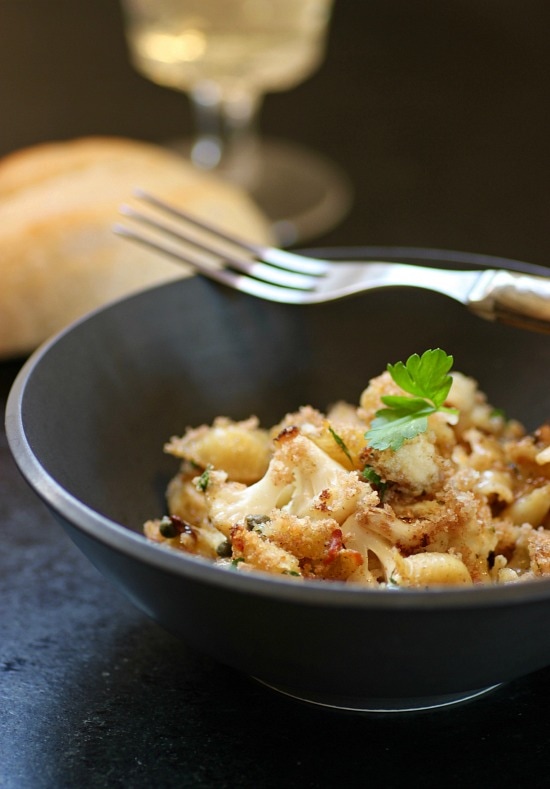 Blame it on January... I find motivation difficult this time of year and feel like I accomplish very little. January is the perfect time for projects; paint a room, organize, clean or plan the summer garden, right? But I don't. That may be because I tend to go full throttle during the holidays and I need an effortless January to even me out. I take a break from everything... even cooking and my beloved baking. But with time, that changes. This week I prepared several old favorites, but I also made, for the first time, this recipe for Baked Crusty Pasta Shells and Cauliflower that came across in an email from Food & Wine recently. It's fabulous on a cold, dark January night in Minnesota, and for those in my family that are eating less meat or none whatsoever. Anything made with salty capers, lemon zest and fresh ricotta is a winner, as far as I'm concerned. Yes... I'll be making Pasta Shells with Cauliflower again. (NOTE) When purchasing the ingredients for this recipe, my cheesemonger suggested I cut back on the Fontina Val d'Aosta, which is pricey. I used half the amount that is shown in the original recipe below, and replaced the remaining 5 ounces with a container of pre-grated cheeses that included fontina in the mix. I had no complaint with doing that nor with the results. I loved this pasta.  Ina Garten | Food & Wine, November 2016, slightly adapted • Kosher salt • Freshly ground black pepper • 3/4 pound medium pasta shells • Extra-virgin olive oil • 2 1/2 pounds cauliflower, cut into small florets (1 large head) • 3 tablespoons roughly chopped fresh sage leaves (I substituted 2 tablespoons rubbed sage) • 2 tablespoons capers, drained • 1 tablespoon minced garlic • 1/2 teaspoon grated lemon zest • 1/4 teaspoon crushed red pepper flakes • 2 cups freshly grated Italian Fontina Val d'Aosta cheese (10 ounces with rind)... see NOTE above • 1 cup (8 ounces) fresh ricotta • 1/2 cup panko (Japanese bread flakes) • 6 tablespoons freshly grated Italian Pecorino cheese • 2 tablespoons minced fresh parsley leaves 1. Preheat oven to 400˚F. 2. Fill a large pot with water, add 1 tablespoon of salt and bring to a boil. Add the pasta and cook until al dente, according to the instructions on package. Drain and pour into a very large bowl. 3. Meanwhile, heat 3 tablespoons of olive oil in a large (12-inch sauté pan over medium-high heat, add half of the cauliflower in one layer and sauté for 5 to 6 minutes, tossing occasionally, until the florets are lightly browned and tender. Pour the cauliflower into the bowl with the pasta. Add 3 additional tablespoons of olive oil to the pan and add the remaining cauliflower. Cook until browned and tender; add to the bowl. 4. Add the sage, capers, garlic, lemon zest, red pepper flakes, 2 teaspoons salt and 1 teaspoon black pepper to the bowl; stir gently to combine. Stir in the Fontina. Transfer half of the mixture to a 10 x 13 x 2-inch baking dish. Spoon rounded tablespoons of ricotta on the pasta and spoon the remaining pasta mixture on top. Combine the panko, Pecorino, parsley and 1 tablespoon of olive oil in a small bowl and sprinkle it evenly on top. Bake for 25 to 30 minutes, until browned and crusty on top. Serve hot. TAKE a LOOK: 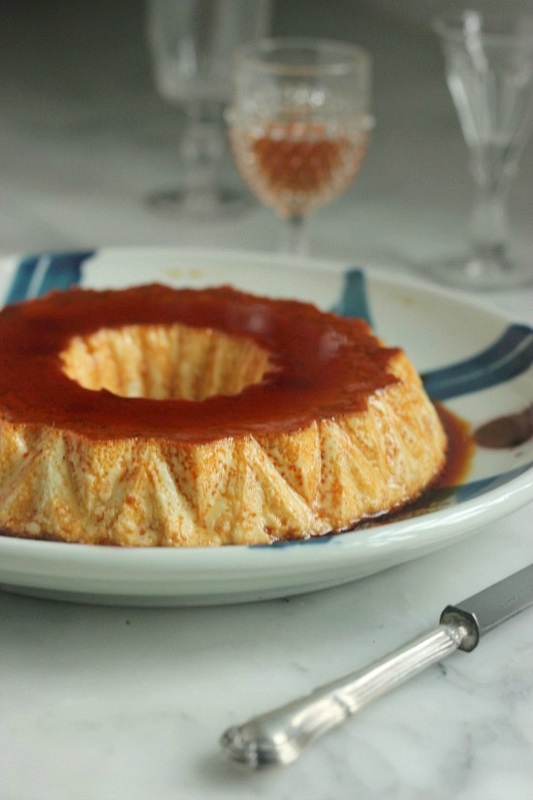 A simple dinner with family on a recent Sunday night couldn't have been any easier. The main dish was a hearty "salad" of roasted potatoes, sausages and shallots, all tossed with arugula and a drizzle of lemon juice. Prep for the vegetables and sausages takes practically no time at all, and the oven roasting adds an additional 45 minutes. It is going to become my fall and winter go-to meal when I want something quick, delicious and filling. And the molded Crème Caramel is my kind of dessert. Since I was a small child, custard has been my favorite way to end a meal. At a restaurant, I will most likely choose crème caramel or crème brulée before a chocolate dessert, or anything else. This recipe belongs to Manger's Mimi Thorrison and is in her newly-released cookbook, French Country Cooking. Here is the link to her original recipe. She has changed the ingredients/recipe slightly in her newest cookbook, and I will just say... purchase that book. This may be the best Crème Caramel I've ever eaten. What I loved about it was the addition of lemon zest. Mimi Thorrison uses a large brioche mold for her Crème Caramel. I took a risk on a highly detailed copper mold with tin lining. It unmolded beautifully, but next time, I think I'll use a simple, large Charlotte mold (it took many hours of soaking and gentle scrubbing to remove the hardened caramel from the mold's crevices). Also, use the best quality ingredients you can in this custard. It's worth it and always makes a difference! • 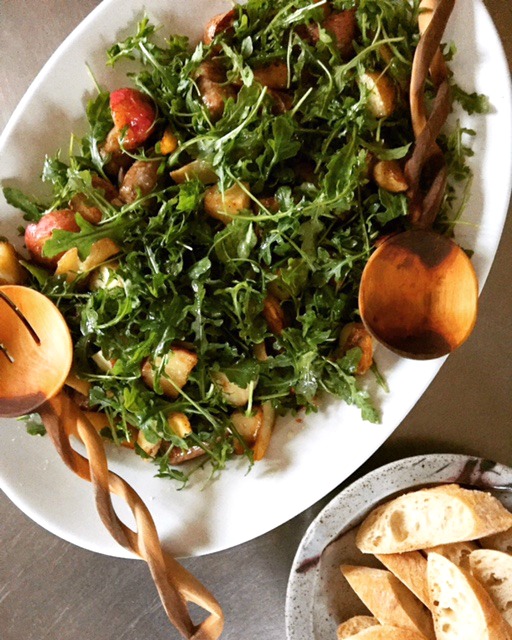 Sausage + Potato Pan Roast |


Categories
All
|